
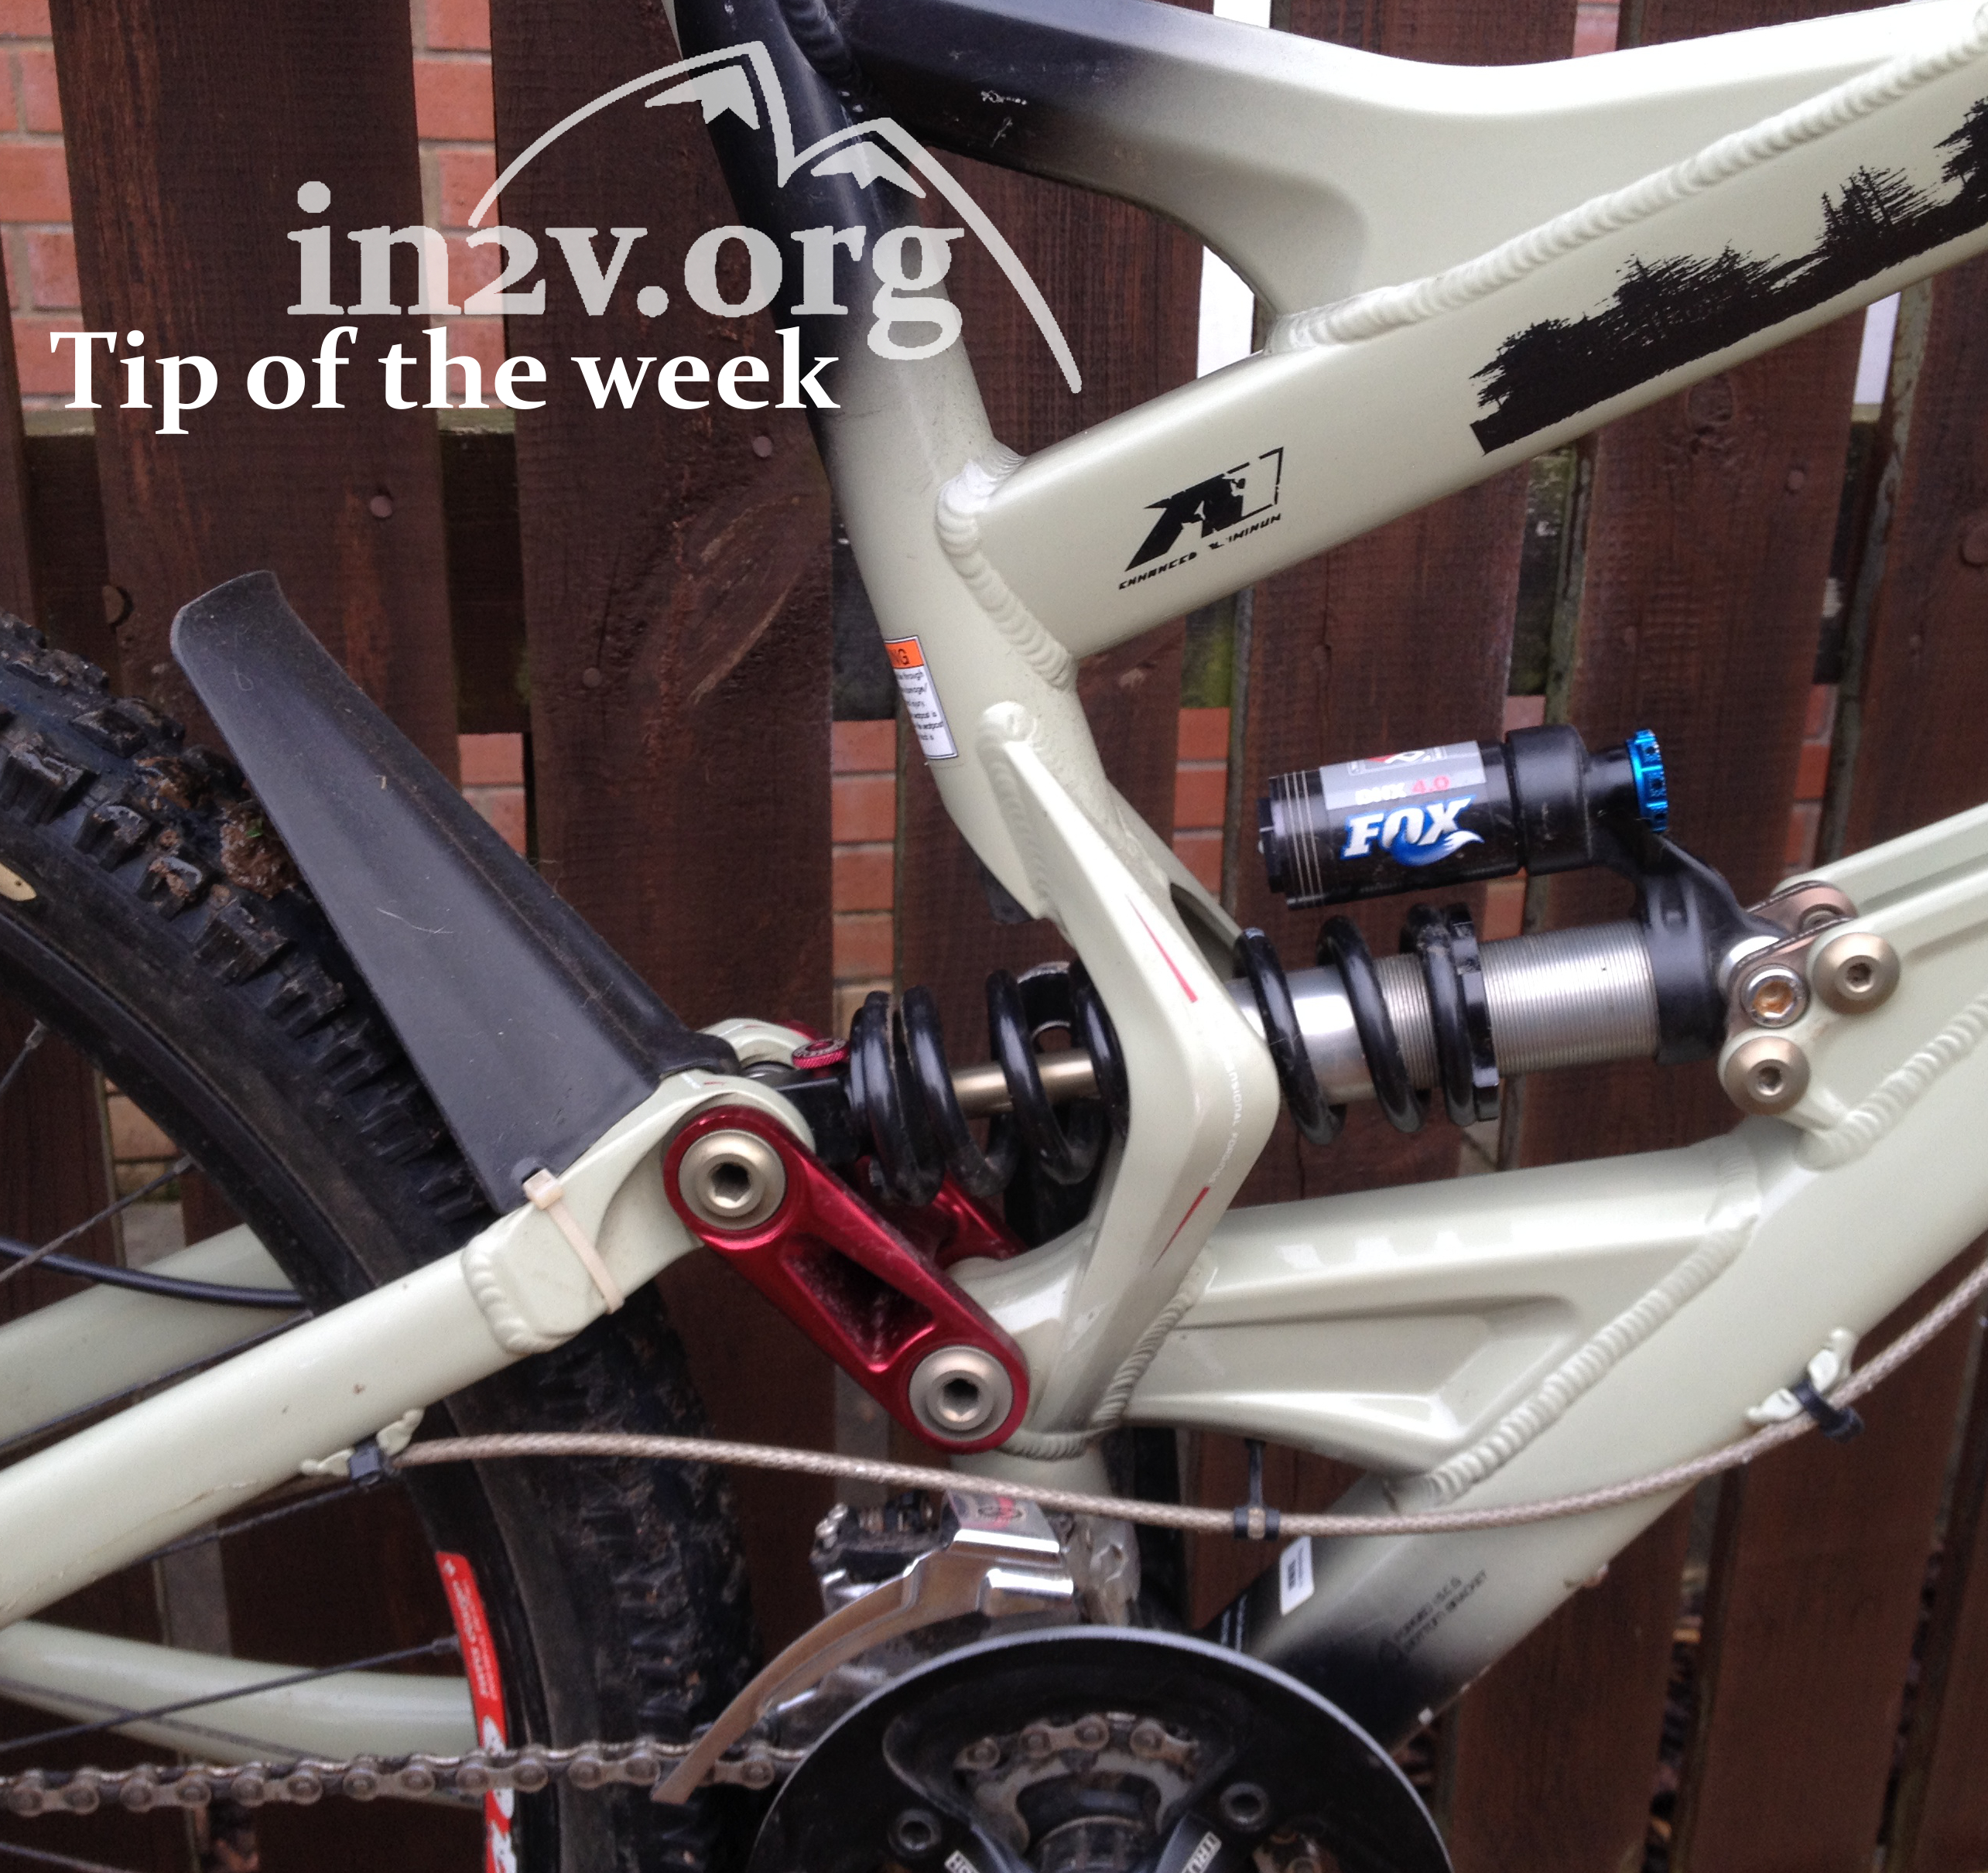
Pre ride mountain bike checks
A good pre ride assessment of your bike is essential to keeping on top of issues that could cause harm to your bike or to you. As the saying goes ‘look after your bike and your bike will look after you.’ Personally if my brakes aren’t working properly, I’d rather find out before I start pedalling.
At the very least you should always start with the ‘drop test.’ Simple – lift your bike a couple of inches and drop it (onto its wheels!), listening for anything that sound out of place – unusual rattles/bangs etc. This will give you a general idea if there is something major wrong.
However, this is about as scientific and delicate as a hammer – it will only give you a rough idea and won’t check things like brakes etc.
The ‘M Check’ technique is a great way of remembering what to check and making sure you don’t miss anything.
So called due to the ‘M’ shape you follow while performing the check – you start at the front wheel and end at the back.
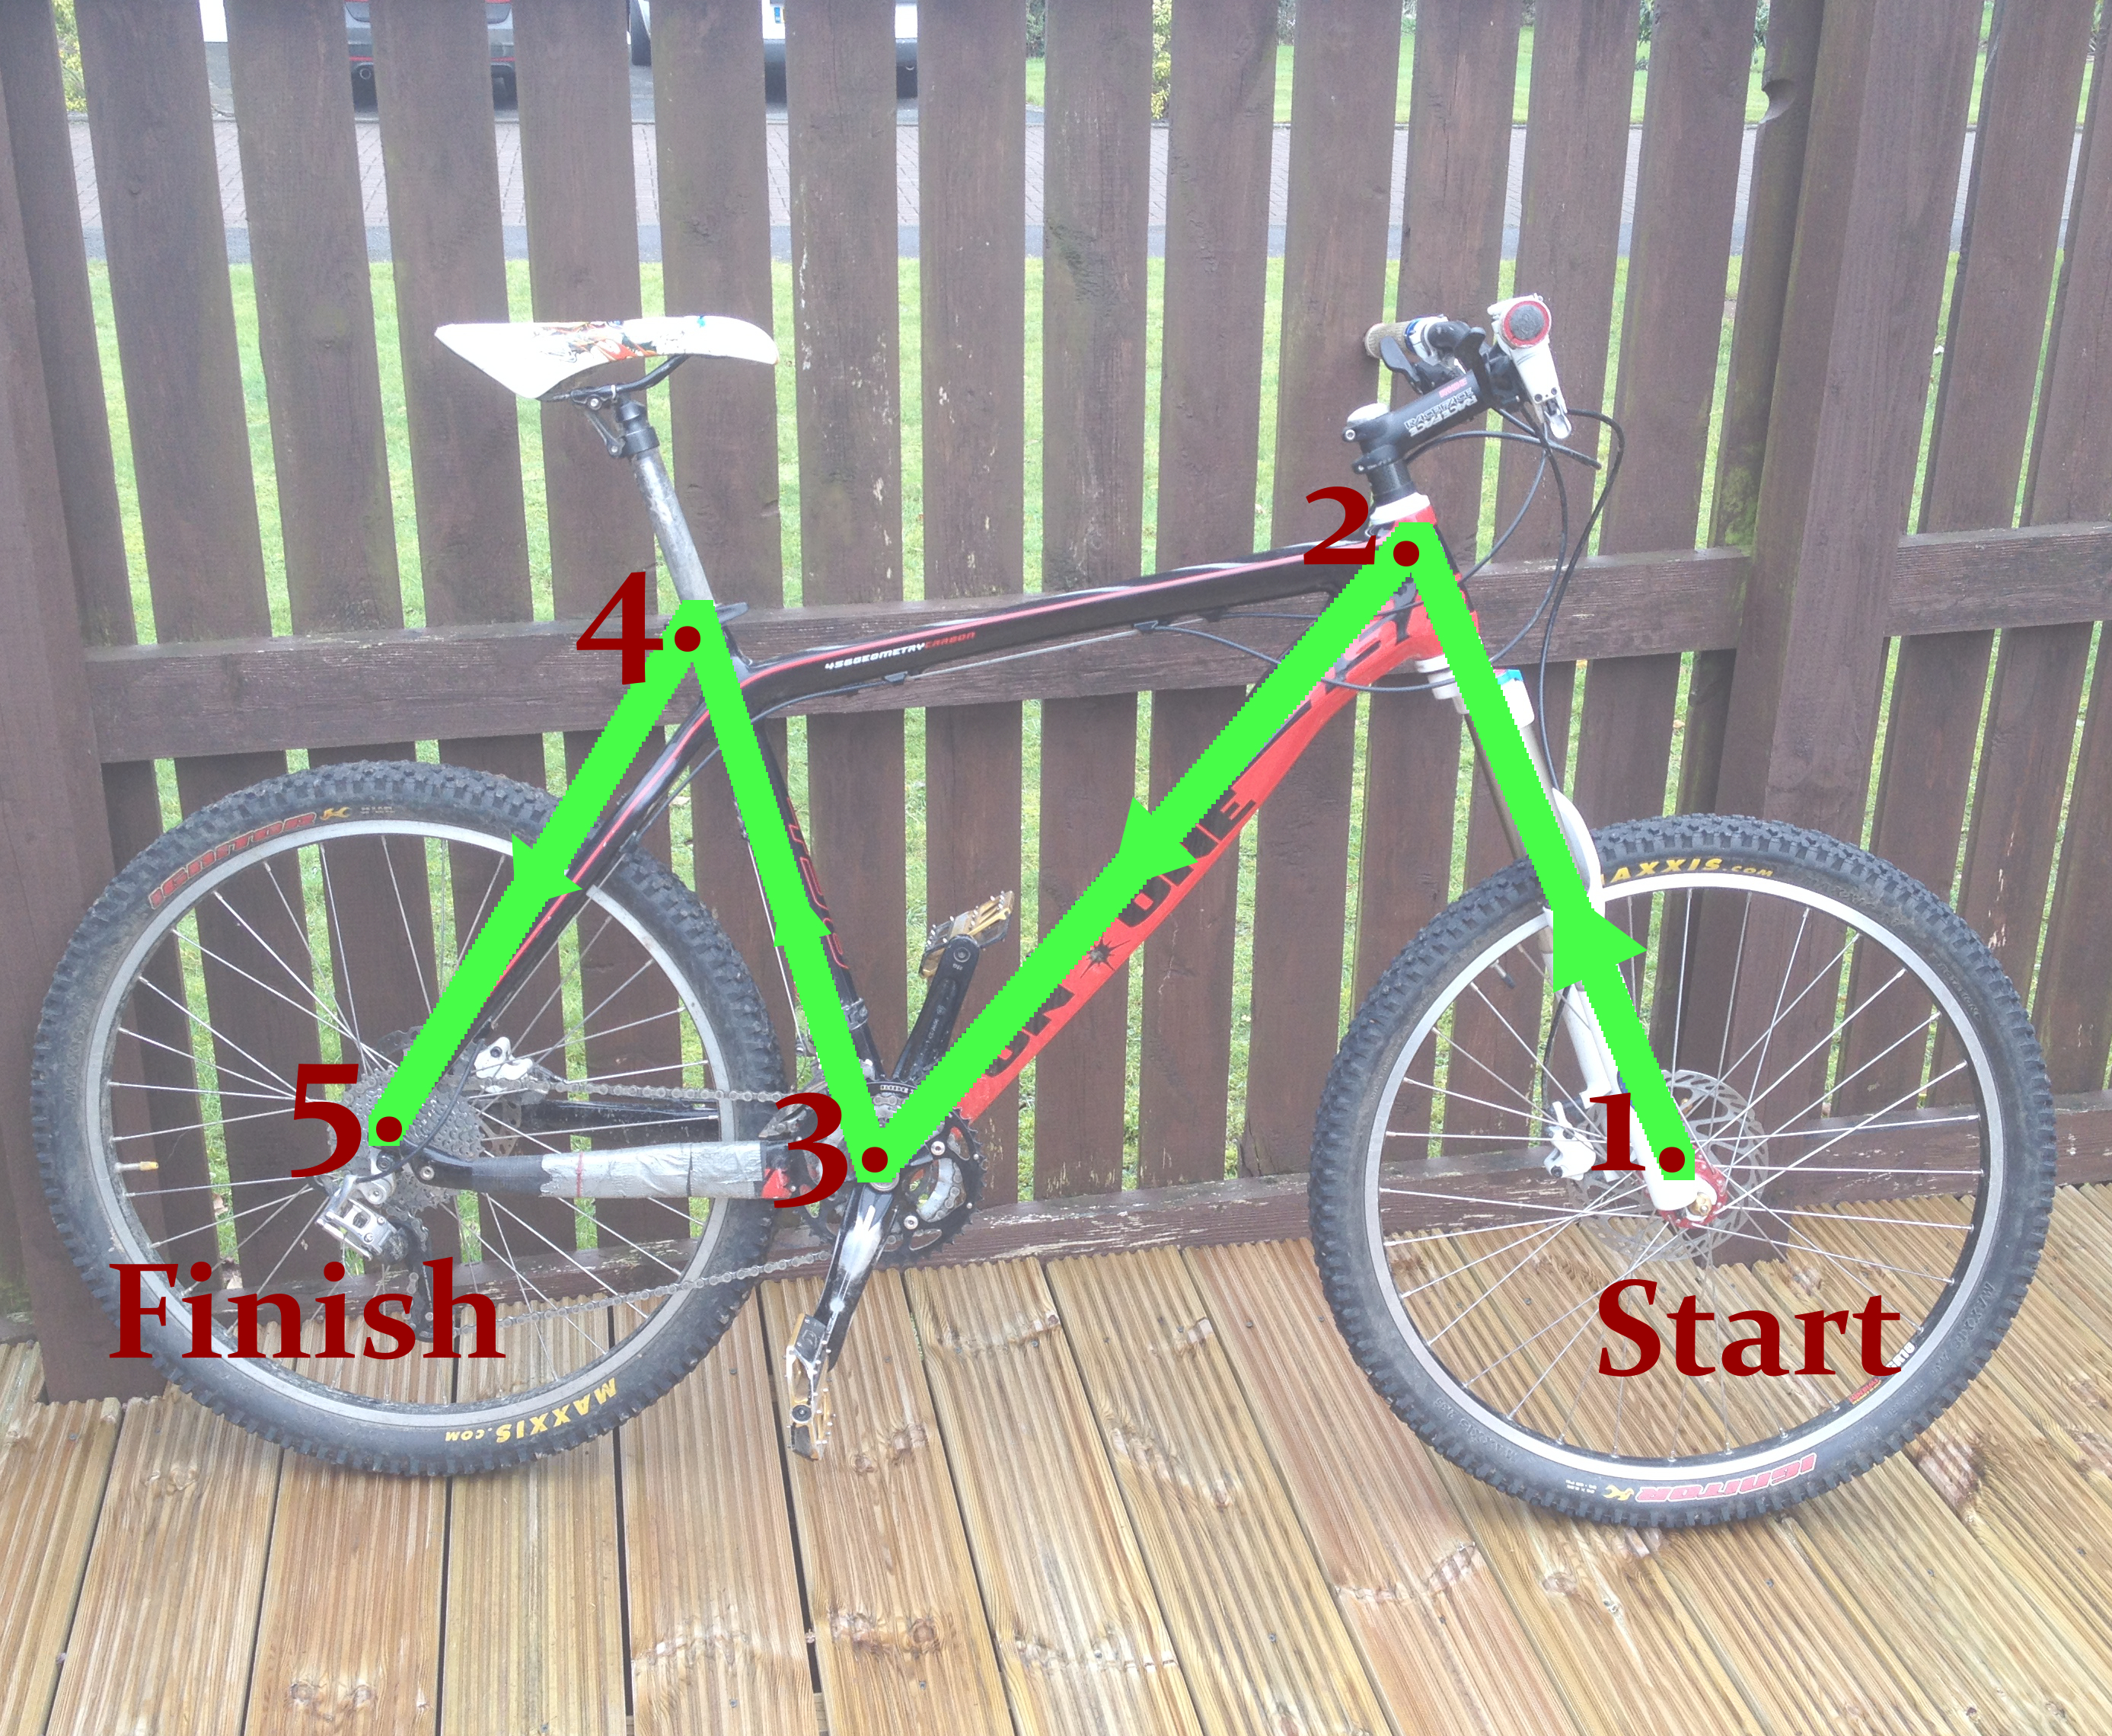

1 – Start at the front wheel.
- Check quick release skewer is tight (or wheel nuts, if you don’t have quick release), the skewer levers should ideally be pointing up or backwards to avoid opening on contact with rocks etc.
- Check tyre pressure is high enough and tyres are in good condition (no cracks in sidewall etc)
- Check for loose spokes and that the rims are running true (no major kinks etc)
- Check hub bearings by rocking wheel side to side with your hand checking there is no play.
- At this point hold the front brake and push the bike forward to make sure it is working.
- As you move on to point 2, check forks for obvious damage.
2 – Handlebars
- Check headset by holding the front brake on and rocking the bike forward and backward. Put your fingers around the join between headset and frame and feel for play.
- Give each handlebar component (brake levers, gear levers etc) a push to make sure they are tight.
- Check grips are not loose.
3 – Frame and bottom bracket
- Check frame for damage.
- Check cables are not caught or kinked.
- Give pedals a wobble to check for excess play.
- Check for damage and play in the bottom bracket by holding a crank arm or pedal in each hand and rocking them from side to side.
- Check front gears are working by holding (or preferably getting someone else to hold) the rear of the bike off the floor, pedalling and changing the gears. Gears should always move smoothly rather than jumping.
4 – Saddle
- Check saddle is at correct height and is tightened up.
- Check release clamp is tight enough to stop the saddle dropping when under weight.
5 – Rear wheel
- Check rear gears in same way as front.
- Perform all same checks as front wheel – skewer/pressure/tyre/spokes/rim/brake/hub
If your bike has rear suspension, check that this is in good working order and feel for play in all bearings.

At first this does seem like a lot of work and a lot to remember, however the more you do it the quicker it gets until it becomes second nature.
Look after your bike and it will look after you.
– Graham


